When we first saw these walnut chairs from the 1880s, we felt a little sad. The story was that they were abandoned to 110 years in a barn because they were too difficult to dust. And there they sat.
By the time we got hold of them, the red and bottle green velvet upholstery was gone completely and the springs were rusted out.
They needed some love.
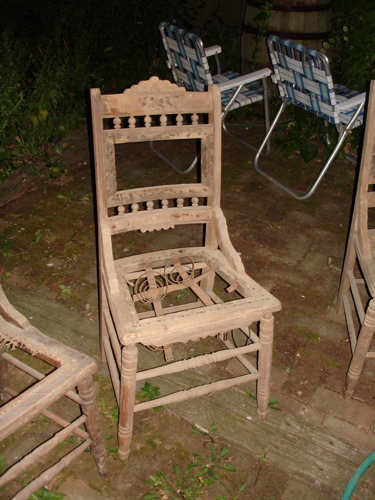
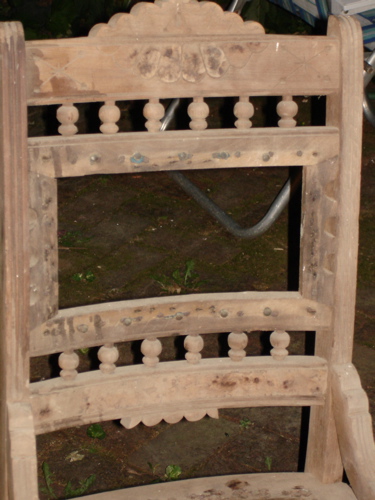
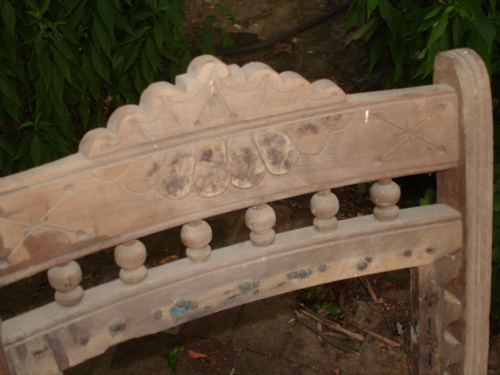
All of the finish had baked off over the years, and what was a nice walnut was now unidentifiable under years of dust and animal droppings.
When we got them up to the workroom, the first thing we had to do was stabilize them. The glue that held them together had been eaten away, so our first step was to take them apart and label them. Once we had the pieces cleaned and had brushed them with just a bit of hardener, we began the regluing and clamping process.
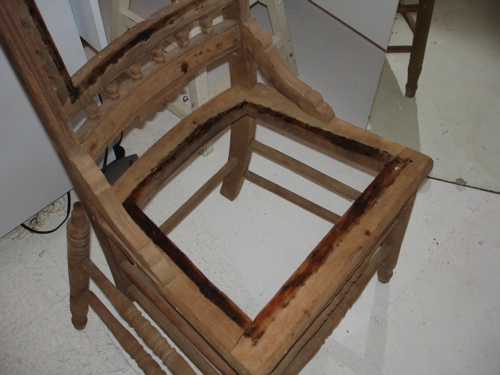 The seats had twisted a bit over the years, so we left the weight of three to four cast iron sewing machines sit for a month in high humidity to correct their warping.
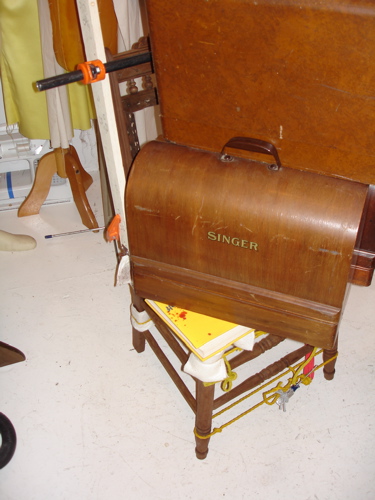
When you are dealing with furniture this old and this abused, you can pretty much forget about it ever (EVER!) being square and true. You want something that comes close, but don’t force it too hard or the wood will shatter.
After we were satisfied with the glue, we used our stash of antique walnut to make a wood putty from linseed oil and shavings. Most of the tacks and nails had to be very gently drilled out because they had rusted into the cells of the wood. Once these were dealt with, the holes were filled.
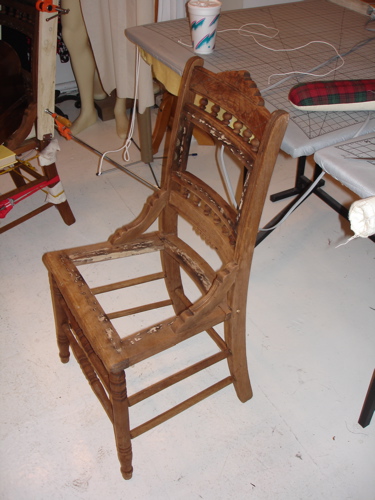
We began fixing the burl on the top and slats of the back of the chairs. The old burl wasn’t salvageable, but we have a small stock of 19th century burl we use on small jobs like this. 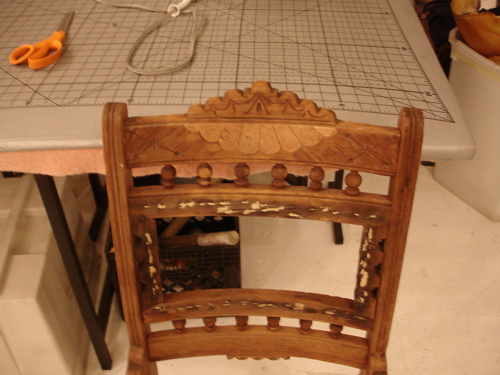
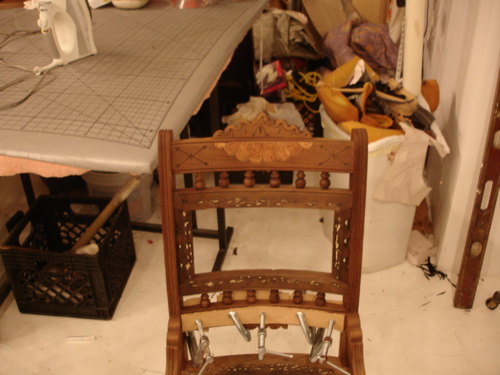
If you look really closely, you will see the differences in the turnings on these two chairs – this was original to the set. When they were being glued together 100+ years ago, somebody screwed up and set the turnings upside down, so when we were reassembling them, we took note and kept them that way.
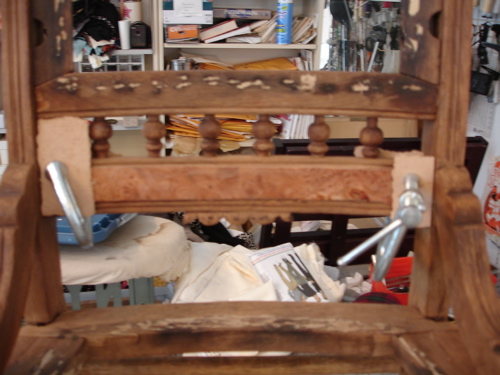
Once the burl was in place, trimmed, and everything was set, we buffed the entire chair out.
Now. We would have preferred to use a shellac for the finish, but the wood was too soft. Usually walnut will take a shellac finish beautifully and you will have a quick, easy and legitimate (the original finish was a shellac) finish.
In this case, the structure of the wood is so damaged that shellac would crumble under use unless we were to do some heavy sanding.
So we decided to use linseed oil, which is a lovely finish, but takes forever.
We started with a 2/1 cut oil/mineral spirits and large sheets of plastic. For two days we let the oil mixture soak in, re-coating it every 6 hours or so. 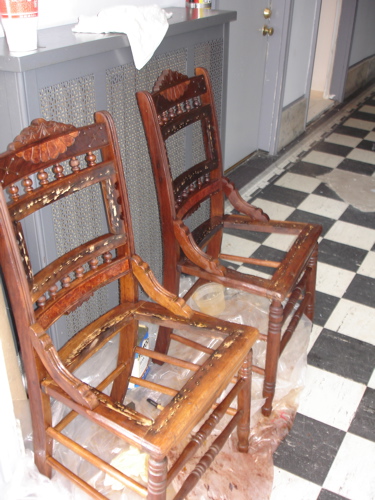
Once two days passed, we began a week-long cycle of straight linseed oil. Every morning we would brush it on liberally and then seal it in plastic. The next morning we would remove the plastic, wipe it down hard with mineral spirits, and then apply another layer of the oil.
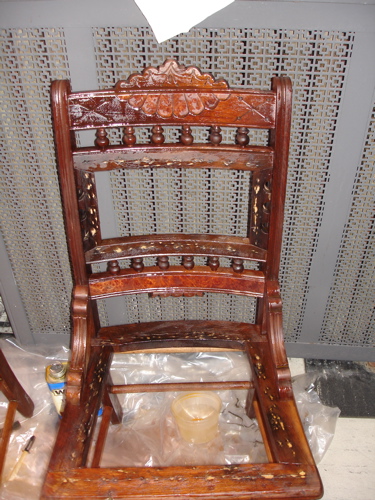
After a week it stopped accepting more finish and a test of the wood on the underside showed that it had soaked in to 1/8″; which is what we were going for.
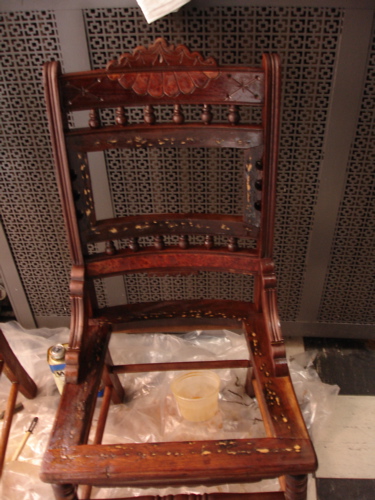
Once the oil started to set, we buffed them down with hard cotton and set them aside. Oil finishes are funny things – they darken over time because of the amount of finish that stays wet. We have found that the cleaner we keep a piece while waiting for the finish to cure, the lighter it stays. Your mileage may vary.
Here is the result of our emergency surgery:
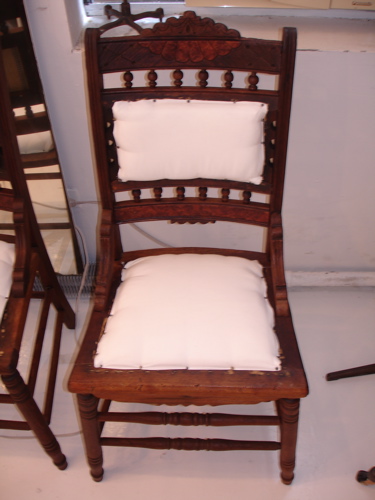
The chairs are stabilized, safe and sturdy enough for general use. They are waiting for their final upholstery treatments.
Our philosophy with furniture that is that you should never do anything unnecessary and anything you do should be appropriate to the age of the piece. The glues we used were animal, the finish was linseed, and the burl was antique. Everything about these chairs is still within the time-line. We wouldn’t think of coating them with polyurethane or plastic fillers. You have to decide how far you want to go – you can’t live in a museum, but for pieces like this, you don’t want to make them freakishly “restored” either. Think of balancing your needs with the value and meaning of the piece.
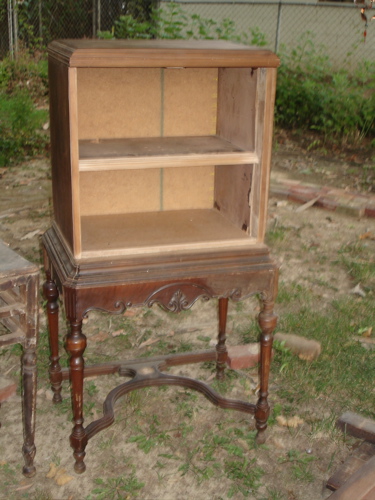
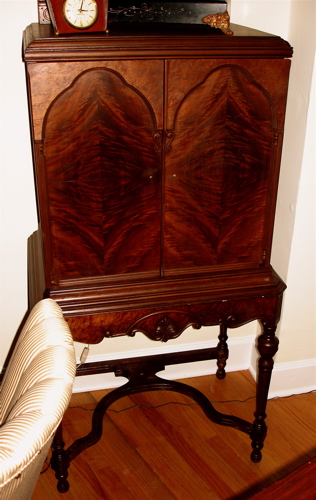 We like the idea that this cabinet once held what was the apex of communication and information technology…