We have a strong anti-consumerist bias. Almost all of our work in the workroom – from the gutting and subsequent buildout of the five spaces to the installation of tables, desks, and lighting – was done using recovered and salvaged materials when possible.
The kitchenette area off of our offices was no different.
We found the perfect cabinets as the developers across the alley did their thing. Here is what we had to start with:
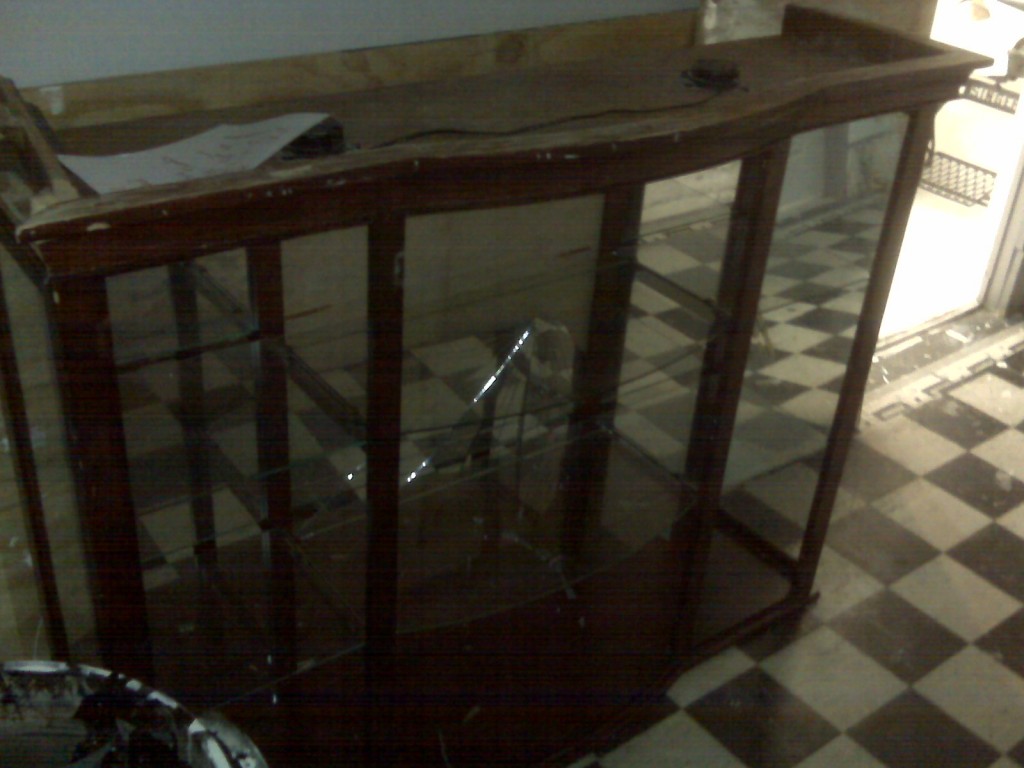
Cabinets before we worked our magic.
After we finished reinforcing them to be hung, we reglued the joints, stripped them, primed and painted them.
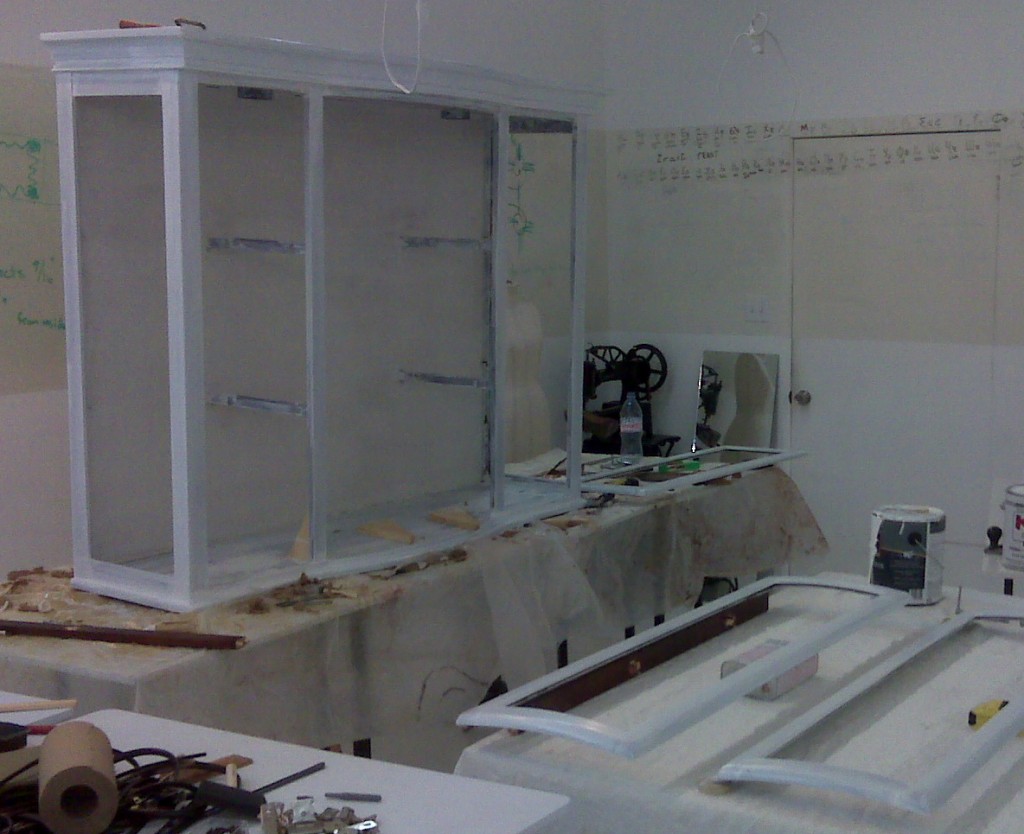
Scraped, sanded, and taken apart.
The side of the molding had been crushed and broken away, so we needed to do one quick repair:
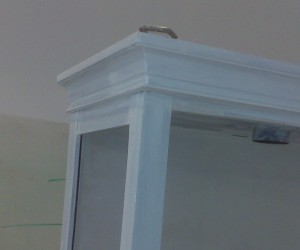
Not bad for so much damage.
We used Behr brand porch and floor paint in latex enamel, brilliant white.
We then built out a support from the ceiling in the kitchenette area to make sure that this mass of wood and glass would be supported from the ceiling as well as the wall using 4 inch lag bolts with 3 inch support washers
We had some issues getting it up on the walls and plumb, so here was the solution:
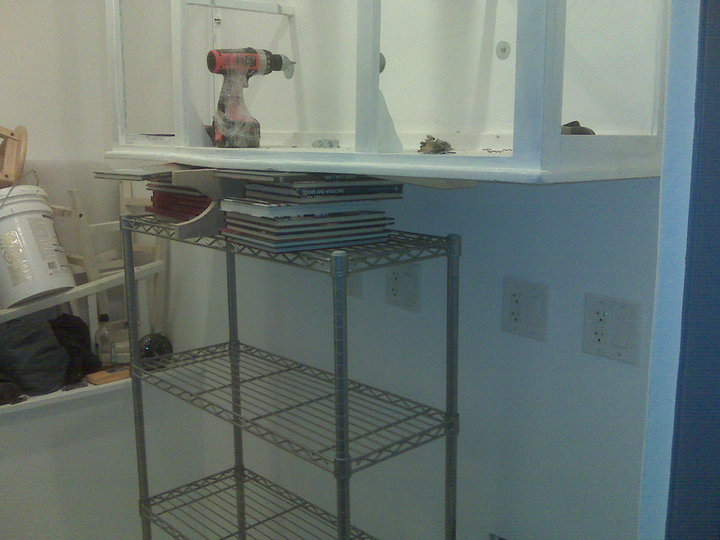
How to level and hang cabinets without help.
We used a wire shelving system on casters, shimming the cabinet up 3/8 of an inch at a time to get it level and flush before drilling in the lag bolts.
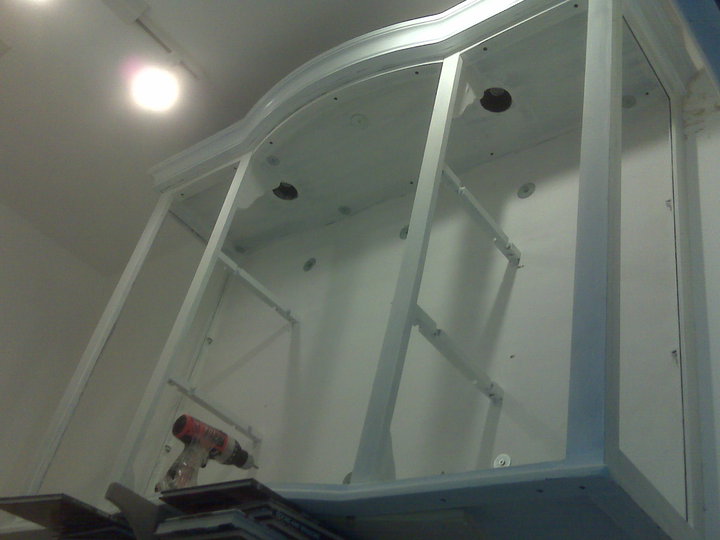
After the cabinet is fixed in place.
We then replaced the glass, doors, and trim and here we go:
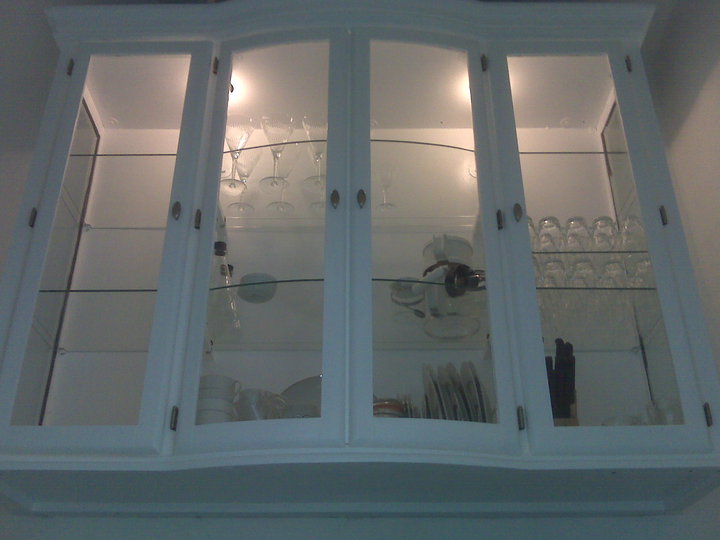
Not bad. Not bad at all.
